Ooey Gooey Butter Cake Recipe
I’m about to walk you through a classic, crowd-pleasing bake: a cake-mix-style pan dessert with a golden, slightly crisp base and a rich, cheesecake-like topping that stays deliciously soft in the center.
Yes, the center is meant to be soft — that’s the whole point. I’ll show you how to tell when it’s done so you don’t overbake and lose the gooey joy.
The ingredient list is delightfully simple: yellow mix, cream cheese, eggs, vanilla, powdered sugar, and a bit of melted fat for the crust. It’s perfect for last-minute potlucks because the boxed mix gives reliable structure while a few pantry staples turn it into something special.
By the end you’ll have a rich dessert with a golden top, tidy-ish slices after cooling, and big potluck energy. Below, I’ll cover mixing tips, how to layer without blending, and the visual cues that mean “perfectly set but still tender.”
What Makes Gooey Butter Cake So Irresistible
This dessert’s charm comes from the contrast: a firm, buttery base and a silky, cream cheese top.
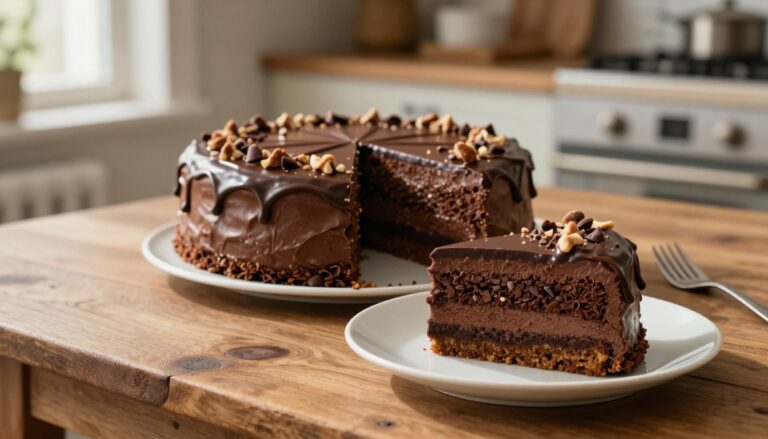
I’ll break down the two-layer situation so it makes sense. The bottom is a sturdy crust that bakes golden and holds shape. The top is a soft, cheesecake-like filling that stays intentionally tender when you bake it right.
Origins and the cake-mix boost
This treat is tied to St. Louis, where bakers passed down the idea and the story got debated. The boxed mix shortcut (popularized by several home cooks) turned it into a go-to for everyday bakers and potlucks.
Texture and flavor notes
Think slightly crisp edges, a soft center, and a golden brown top that signals light caramelization. The flavor is sweet and vanilla-forward, with rich, cheesecake-like depth from the cream cheese layer.
- Two distinct layers: crust (bottom) and filling (top).
- Party-ready: travels well and serves in small squares.
- Deliberately soft center—not a baking mistake.
| Component | Texture | Role |
|---|---|---|
| Bottom crust | Firm, slightly crisp | Provides structure and contrast |
| Cream cheese layer | Soft, creamy | Gives richness and cheesecake-like flavor |
| Top finish | Golden brown surface | Signals caramelized sweetness and doneness |
| Serving style | Small squares | Concentrated flavor; ideal for sharing |
Ingredients You’ll Need for an Ooey Gooey Butter Cake Recipe

Gathering the right ingredients makes this pan dessert shine—simple pantry items, big reward.
Base essentials
For the bottom layer I use boxed yellow cake mix, melted butter, eggs, and vanilla extract. The cake mix gives structure while the butter and eggs make a tender crust.
Gooey layer staples
The filling starts with softened cream cheese and powdered sugar (confectioners sugar). Add eggs and a touch of vanilla extract and you get that silky, sweet top everyone loves.
- Full-fat cream cheese for best richness.
- Bring eggs to room temperature so the batter blends smooth.
- Let melted butter cool slightly before mixing to avoid scrambled bits.
- Optional: dust with powdered sugar after cooling for a neat finish.
| Ingredient | Why it matters | Measure |
|---|---|---|
| Yellow cake mix | Reliable base and flavor | 1 box (cups per box vary) |
| Butter (salted or unsalted) | Fat adds tenderness; mix has salt, so either works | 1/2 to 3/4 cup melted butter |
| Cream cheese | Creates creamy filling; choose full-fat | 8 oz block, softened |
Tools and Prep for Foolproof Results
The right gear and setup take guesswork out of baking and keep the center tender. I always prep first: measure ingredients, soften cream cheese to room temperature, and line my counter so the process flows.
Best pan choice
I recommend a 9×13-inch pan for the classic thickness that yields a tender center without overbaked edges. If you don’t have one, two 8×8 dishes work well—reduce bake time to about 25–35 minutes so the middle stays soft.
How to prep the dish
Use baking spray for a quick nonstick finish, or grease and flour the dish if you like. Parchment paper also saves you from chiseling squares out of corners—just lift them out when cool.
Oven setup and tools
Preheat to 350°F and place the pan on the middle rack for even heat. An electric hand or stand mixer helps you beat the cream cheese until smooth and lump-free. Keep a couple bowls ready so you’re not washing mid-mix.
- Prep everything before you start—this recipe moves fast once mixing begins.
- If using two smaller pans, watch the minutes carefully and test visually for a golden top with a soft center.
| Item | Why it helps | Quick tip |
|---|---|---|
| 9×13-inch pan | Best thickness and even bake | Use for classic texture |
| Two 8×8 dishes | Good alternative; faster bake | Check at 25–35 minutes |
| Parchment or spray | Prevents sticking | Lift out easily when cool |
| Hand or stand mixer | Lump-free cream cheese layer | Beat until silky smooth |
If you want a slightly fancier version, try a Neiman Marcus-style variation linked here: Neiman Marcus-style twist.
Step-by-Step: Make the Crust and Gooey Filling
Begin by mixing the crust in a large bowl so you have a sturdy base to hold the soft topping. In that large bowl combine one box of cake mix with 1/2 to 3/4 cup melted butter, 2 eggs, and 1 teaspoon vanilla extract until you reach a thick cake batter-like dough.
- Press the crust layer evenly into a greased 9×13 pan using your fingers or a flat-bottomed cup so it bakes up firm and buttery.
- In a separate bowl, beat 8 oz cream cheese until smooth and lump-free—this is where a mixer (hand or stand) helps most.
- Add eggs one at a time to the cream cheese, then stir in vanilla. Gradually mix in powdered sugar (about 2 cups) until the filling is velvety and pourable.
- Pour the cream cheese mixture gently over the crust. Do not mix the layers—keeping them separate is the golden rule for contrast.
| Step | What to watch for | Quick measure |
|---|---|---|
| Crust | Thick, dough-like | 1 box cake mix, 1/2–3/4 cup butter, 2 eggs |
| Filling | Smooth, lump-free | 8 oz cream cheese, 2 cups powdered sugar, 2 eggs |
| Assembly | Separate layers | Pour on top; do not stir |
Baking Time, Doneness Cues, and Cooling
Baking this one is about minutes on the clock and watching the surface more than poking at the middle. I set the oven to 350°F and bake on the middle rack for about 40–45 minutes. If you like a firmer center, push toward 50 minutes, but expect the texture to tighten as you add minutes.
What to look for in the oven
You want a golden brown top, edges that look set, and a slight jiggle in the center when you nudge the pan. The crust should be firm enough to hold the layer but the middle should still look soft—that’s textbook for this butter cake.
Why the toothpick test misleads
A toothpick will often come out sticky even when the cake is done. That test is built for fully set cakes, not a dessert whose center is intentionally tender. Trust color, edge set, and a small wobble instead.
Cooling and serving temperature
Cool completely in the pan before slicing so the layers stabilize and slices cut cleanly. Room temperature slices stay softer and silkier; chilling in the fridge firms the bar-like texture for neat serving.
| Cue | How it looks | Result |
|---|---|---|
| Color | Even golden brown top | Signals doneness |
| Edges | Set and slightly pulled from pan | Crust is ready |
| Center jiggle | Soft but not liquid | Perfect tender center |
| Cooling | Complete at room temperature | Cleaner slices |
Easy Flavor Variations Using Different Cake Mixes

Once you master the base, the quickest way to change flavor is swapping the cake mix and making one or two small tweaks. I keep the method identical so you get reliable results every time.
Lemon swap for spring
Use a lemon cake mix for bright, Easter-ready energy. Reduce or omit vanilla and add 1–2 tablespoons lemon juice for a true tart lift.
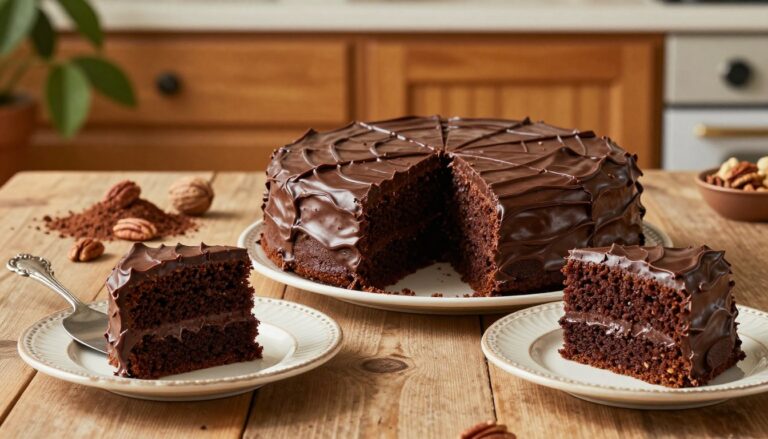
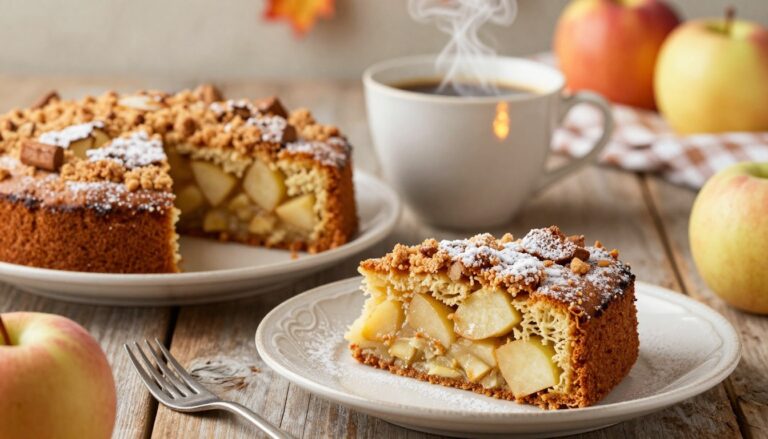
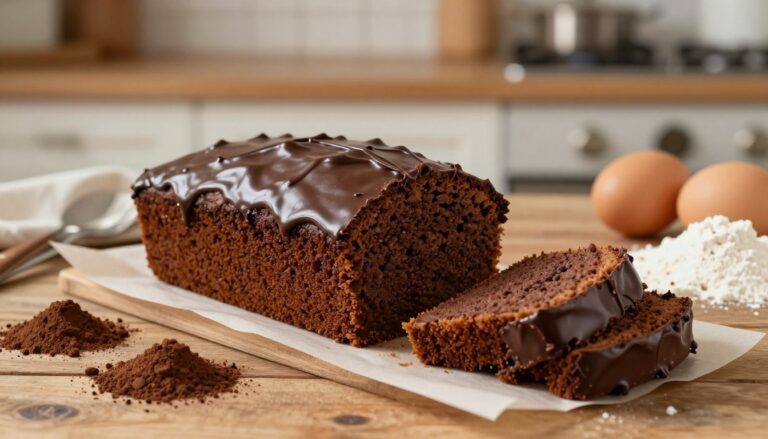
Chocolate or spice
Choose chocolate or spice mix to deepen the profile—great for holiday gatherings. Serve with coffee; the richer cake mix plays well with the sweet cream layer.
German chocolate-inspired
Fold 3/4 cup sweetened coconut and 1/2 cup toasted pecans into the cream cheese layer for texture and crunch. The mix stays the same; you just add mix-ins.
Strawberry and pumpkin ideas
For strawberry, fold 1 cup chopped berries into the top, but pat them dry so the filling sets. For pumpkin, add 1 cup pumpkin puree, 1 teaspoon pumpkin pie spice, and an extra egg; a tablespoon melted butter helps balance the fat so it bakes evenly.
- These swaps use the same ingredients and cups/measures you already know.
- Small changes—juice, nuts, fruit, or puree—create big new flavor without fuss.
Serve, Slice, and Store It Like a Pro
When it’s time to serve, simple touches lift this pan into something bakery-worthy. Keep the presentation easy: a light dusting of confectioners sugar after the bars cool, a dollop of whipped cream, or a scoop of vanilla ice cream for the full à la mode moment.
Serving ideas to match the richness
Dust powdered sugar or confectioners sugar only after the top is completely cool so it sits pretty instead of melting in. Add a spoonful of whipped cream or a scoop of vanilla ice cream to contrast the sweet, creamy top.
How to cut clean slices
Use a sharp knife sprayed lightly with nonstick spray. Cut, then wipe the blade with a warm towel between cuts so each slice looks tidy and neat on the plate.
Storage and freezing guide
Store at room temperature up to 3 days in an airtight container. For longer life, refrigerate up to 5 days—the texture firms in the fridge but still tastes great.
| Method | How long | Best tip |
|---|---|---|
| Room temperature | Up to 3 days | Keep covered in a cool room; serve within the first 48 hours for peak creaminess |
| Refrigerator | Up to 5 days | Store airtight to avoid drying; bring to room temperature before serving for softer texture |
| Freezer | Up to 3 months | Wrap tightly in plastic wrap + foil or use freezer-safe container; thaw overnight in the refrigerator |
| Reheat | About 15 seconds | Warm individual slices briefly in the microwave for extra gooey butter feel—watch closely |
Ready to Bake Your New Favorite Ooey-Gooey Dessert
Let’s wrap this up with a quick, confidence-boosting recap so you can bake with zero guesswork.
Prep the pan, preheat the oven to 350°F, mix the crust and the topping in separate bowls, then layer without stirring. Bake until the top is golden and the edges look set—remember the center should stay soft, not fully firm.
Final checklist: ingredients at room temperature, cream cheese beaten smooth, powdered sugar added slowly, and eggs blended one at a time. Cool completely before slicing.
Swap cake mix flavors to make it yours. Serve plain, dusted, or with whipped cream or ice cream. Now go bake it today—this pan dessert disappears fast!