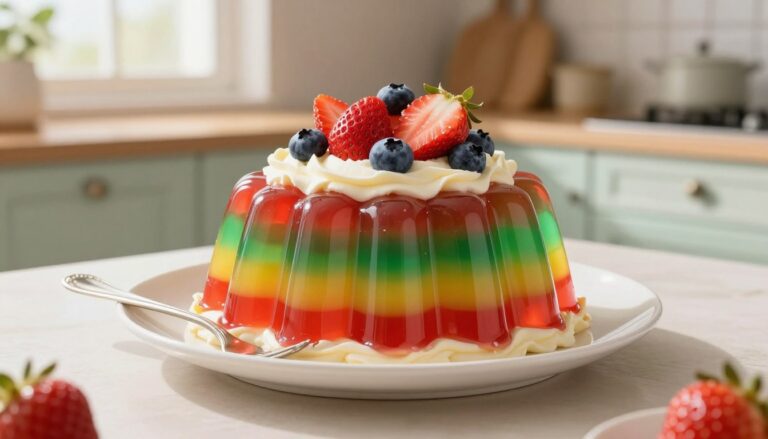
Dog Friendly Cake Recipe
I’ll walk you through an easy, homemade treat that’s cute enough for photos but simple enough for a weeknight bake. This recipe is written for real kitchens: common pantry ingredients, minimal tools, and clear timing in minutes so you can plan the celebration without fuss.
Treat, not dinner—serve small portions so the party stays fun and your pup’s stomach stays happy. I call out safety early: always read labels (watch for xylitol in peanut butter) and skip anything questionable.
You’ll see two paths: a quick single-serve ramekin for immediate spoiling, or a small birthday cake-style layer you can frost and decorate. Bake at 350°F and cool completely before frosting so the layers hold together.
Coming up: dog-safe ingredient rules, swaps, step-by-step mixing, bake cues, frosting tips, storage, and simple variations. You’ve got this—let’s make something tasty and safe for the celebration.
What Makes a Cake Dog-Friendly (and What to Avoid)
Before you mix anything, read labels and think safety first. I keep ingredient lists short and obvious so the treat stays fun for both pups and people. Simple swaps beat surprises every time.
Xylitol in peanut butter: the label check you can’t skip
I always inspect peanut butter like a detective. Xylitol is toxic to dogs and may appear as birch sugar, wood sugar, xylit, or E967.
Make sure yogurt is plain and unsweetened too—no hidden sweeteners. Verify ingredient lists on any peanut or spread you use.
Apple prep: remove the core, stem, and seeds completely
Apples are fine chopped, but remove the core, stem, and all seeds before serving. Seeds contain trace compounds that can cause issues when eaten in quantity.
Portion mindset: this is a treat, not an all-at-once meal
Even safe ingredients like peanut and butter contain calories and sugar. Offer a tiny celebratory slice based on your pet’s size and vet guidance.
Think moderation, not a buffet. Use dog treats and simple toppers to keep things special without overdoing it.
| Ingredient | Safe? | Notes |
|---|---|---|
| Natural peanut butter | Yes | No xylitol; plain ingredients only |
| Peanut spreads with sweeteners | No | May list xylitol or sugar alcohols |
| Apple (prepared) | Yes | Core and seeds removed, chopped small |
| Human-style frosting | No | Too much sugar and fat for most dogs |
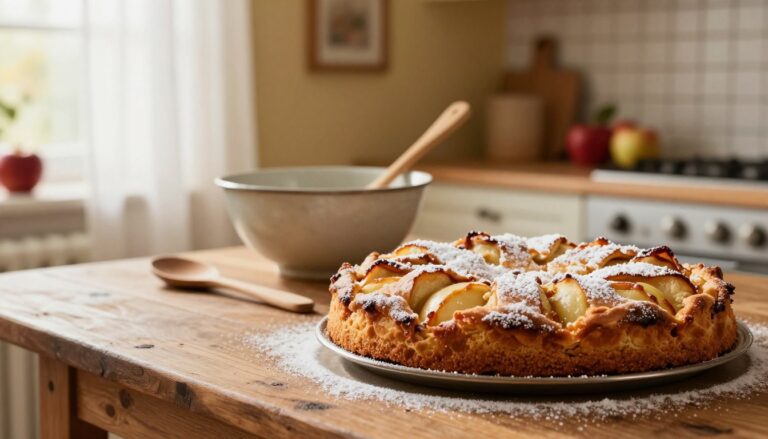
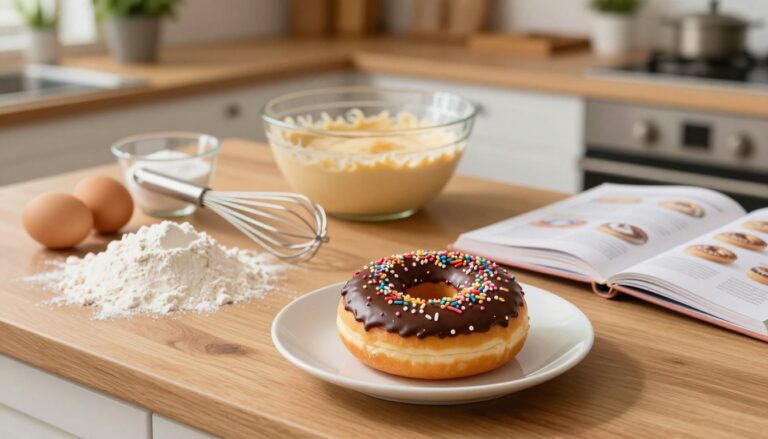
Dog Friendly Cake Recipe for Birthdays, Gotcha Days, and Just Because
This is my go-to celebration bake for birthdays, gotcha days, or any random Tuesday when a little party feels right. It’s simple, low-stress, and made to share small slices over a few days—no pressure to finish it in one sitting.
How long it takes: quick prep, oven 350, and cooling time
Mixing takes about 5–10 minutes. Preheat the oven early so you’re not holding batter in your hands.
Ramekin version bakes 25–30 minutes at 350 degrees. A 6-inch pan takes roughly 20–22 minutes at oven 350.
Let pans cool at least 10 minutes, then cool completely before frosting. Set aside the cake to avoid a melty top and a sad frosting slide.
Choosing your cake style: single-serve ramekin vs 6-inch dog birthday cake
Pick a ramekin when you want fast cleanup and one tiny celebratory portion. Choose a 6-inch birthday cake for a real party moment and photos.
- Ramekin: quick, denser, perfect for immediate serving.
- 6-inch: thinner layers, slightly shorter bake, better for frosting and sharing.
- Workflow tip: preheat, line or grease your pan, and set aside tools so assembly is calm.
| Format | Bake Time (minutes) | Best Use |
|---|---|---|
| Single-serve ramekin | 25–30 | Fast treat, minimal cleanup |
| 6-inch pan | 20–22 | Birthday cake moments, photos, multiple servings |
| Cooling | At least 10; cool completely | Prevents soggy center and melting frosting |
Ingredients You’ll Need (Plus Easy Swaps)
Start by lining up simple, safe ingredients so you can swap with confidence.
Core pantry list
Ramekin base (4 ingredients): 1 egg, 2 tablespoons natural peanut butter, 1/4 cup chopped apple, 1/4 teaspoon baking powder. Quick, no-fuss and great for one serving.
Flour options
Oat flour gives a smoother crumb. Quick oats add texture and make the batter thicker.
| Type | Texture | Use |
|---|---|---|
| Oat flour | Smooth | 6-inch cakes and lighter layers |
| Quick oats | Rustic | Ramekins or meatloaf-style bakes |
| All-purpose (if tolerated) | Neutral | Not ideal for sensitive stomachs |
Add-ins, fats, and binders
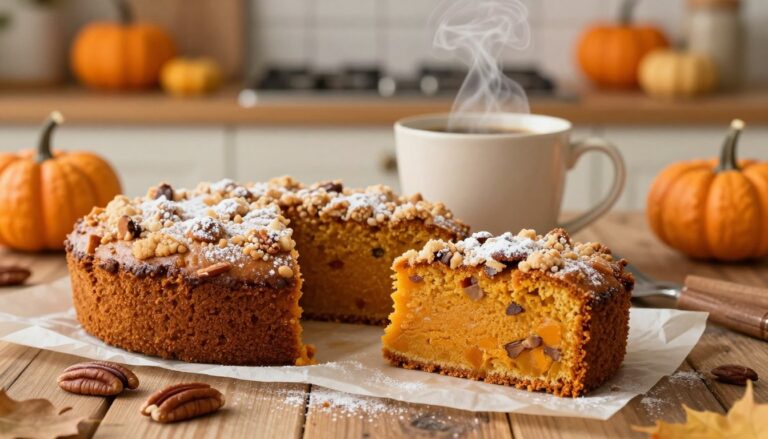
For a 6-ingredient base use: 1 cup oat flour, 1/2 cup applesauce or pumpkin puree, 1 egg, 1 tablespoon coconut oil, splash of water. Optional: a pinch of turmeric or grated carrot.
For sensitive bellies, try a meatloaf-style version: ground meat + oats or oat flour, egg, shredded carrot, chopped apple, parsley, and mild spices. Swap cream cheese for mashed potato if dairy is an issue.
Kitchen Tools and Pans That Make Baking Easy

You don’t need a pro kitchen to bake something special—just a couple of right-sized pans and a tidy setup. I keep gear simple so the process stays fun and predictable.
Best pan picks for different vibes
Ramekin: perfect for a single-serve portion and fast baking.
6″ round pan: classic look for photos and sharing.
Cupcake pan: built-in portion control and easy serving.
Helpful extras that save time
Parchment paper is your best friend for neat edges and easy release. Use a mixing bowl, a whisk, and a spatula to mix smoothly. Preheat oven, then set aside your prepared pan so nothing gets rushed.
Nice-to-haves: a grater for finely shredding carrots and a piping bag (or zip-top with a tip) for tidy swirls. These little tools keep the top smooth and stop frosting from sliding when you add treats.
| Tool | Why it helps | Best use |
|---|---|---|
| Ramekin | Quick, even baking | Single-serve portions |
| 6″ round pan (2″ deep) | Photo-ready layers | Small birthday-style cake |
| Cupcake pan | Portion control | Multiple mini servings |
| Parchment + bowl + spatula | Clean release, easy mixing | Any bake and tidy frosting |
If you want more decorating ideas, check my tips for a small dog birthday cake ideas. Happy baking—simple tools, big smiles.
Step-by-Step: How to Make the Dog Cake Batter
Get your workstation ready—this mix comes together fast, so you want your pan waiting. First, preheat oven to 350°F so the oven is fully hot when the batter is ready.
Prep the pan
Grease a ramekin for the single-serve path, or line a 6″ pan with parchment for the layered version. Greasing helps release the cake cleanly after baking.
One-bowl mixing method
In a bowl whisk 1 egg, 1/2 cup applesauce, and 1 tablespoon melted coconut oil till smooth. This wet mixture blends faster and avoids lumps.
Add 1 cup oat flour and an optional pinch of turmeric. Stir just until combined—overmixing makes a dense loaf, so keep it gentle.
Ramekin shortcut
For a ramekin: combine 1 egg, 2 tablespoons peanut butter, 1/4 cup chopped apple, and 1/4 teaspoon baking powder. Mix in a bowl and pour into the greased ramekin.
Fold-ins and consistency tips
Fold in 1/4 cup shredded carrot, 2 tablespoons pumpkin mixture, or finely chopped apple for texture. Chop small for easier chewing.
If the batter is too thick, add a splash of water, one teaspoon at a time, until it’s spoonable (not pourable). Make sure the mix is uniform before you transfer it to the pan.
- Preheat oven and prep pan.
- Mix wet ingredients in one bowl, then add dry.
- Fold in add-ins, adjust thickness, and transfer to pan.
| Method | Key wet/dry | Portion |
|---|---|---|
| 6″ pan | Whisk egg + applesauce + oil; add oat flour | 1 cake (serves multiple) |
| Ramekin | Egg + peanut butter + apple + baking powder | Single serving |
| Fold-ins | Shredded carrot, chopped apple, pumpkin | Add 1/4 cup |
| Adjust | Water to thin | Spoonable texture |
Bake Time, Doneness Cues, and Cooling Tips

Bake time is where many small cakes win or lose, so I’ll give minute-by-minute cues you can trust. These steps help you avoid a gooey center and end up with a neat top for frosting.
How long to bake
Ramekin: bake 25–30 minutes at 350 degrees. Look for a set top and a firm center before you pull it.
6-inch pan: bake about 20–22 minutes at 350 degrees. The edges should pull slightly from the pan when it’s ready.
Toothpick test explained
Insert a toothpick into the center. If it comes clean, the cake is done. A few dry crumbs on the toothpick are fine—wet batter is not.
If you see streaks of batter, give the bake a few more minutes and check again. Short bursts are better than overbaking.
Cooling for a clean top
Let the cake rest in the pan for at least 10 minutes. Then transfer it to a rack to cool completely before frosting.
Frosting a warm top makes icing melt and slide. Patience here keeps the top smooth and photo-ready.
- If the oven browns too fast, lower the temp by 25°F and add a few minutes.
- If it’s slow to set, add 3–5 extra minutes and watch the toothpick cue.
- Handle warm cakes gently; they are fragile until fully cooled.
| Format | Bake Minutes | Doneness Cue |
|---|---|---|
| Single-serve ramekin | 25–30 | Set top; toothpick comes clean |
| 6-inch pan | 20–22 | Edges pull; toothpick with a few crumbs OK |
| Cooling | 10 minutes in pan, then cool completely | Firm structure; smooth top for frosting |
Easy Peanut Butter & Greek Yogurt Frosting (and Decorating Ideas)
Make a smooth, pet-safe frosting with just two pantry staples and a short chill for texture. I mix equal parts plain unsweetened greek yogurt and natural peanut butter, then taste the texture (not the flavor test—you know why).
Simple blend and a quick safety check
Stir equal measures of greek yogurt and peanut butter until smooth. Double-check both labels for no sweeteners or xylitol; that step matters most.
Consistency tricks
Right after mixing the frosting will be a bit loose. Chill it for 15–30 minutes to thicken and make spreading easier.
For a thin, clean top, spread a light layer. For a sturdier base to hold decorations, use a slightly thicker coat.
Decorations pups love
- Shredded carrots, small blueberries, and thin banana slices (cut small for easy chewing).
- Sliced strawberries, blanched green beans, or a few dog treats/kibble pieces for texture.
- Place larger pieces near the edge so the center stays neat for photos or a birthday moment.
Optional piping for a bakery look
Spoon the frosting into a piping bag with a star tip, or use a zip-top bag with a small corner snipped. Pipe borders or simple swirls to frame the top and anchor your toppers.
| Mix | Chill | Best use |
|---|---|---|
| 1:1 greek yogurt + peanut butter | 15–30 minutes | Smooth spread or mild piping |
| More yogurt | 10–15 minutes | Thin, clean top |
| More peanut butter | 30+ minutes | Sturdy base for decorations |
| Zip-top piping | Chill then pipe | Quick borders and swirls |
Storing Leftovers, Serving Sizes, and Fun Variations for Your Pup
Saving extra portions lets you stretch one celebration into several happy moments. Store cooled cake in an airtight container in the fridge for up to 7 days, or freeze slices for up to a month and thaw in the fridge overnight.
Dairy-based frosting stays best for about 4 days chilled. Meatloaf-style layers keep roughly 4 days refrigerated and freeze well for a month.
Slice small: large breeds might share 6–8 modest servings from a 6-inch pan; tiny pups only need a tablespoon or two. Check with your vet for calories.
Swap ideas: trade applesauce for pumpkin, swap oat flour for other gentle flour, or change add-ins while keeping core ingredients simple and low in sugar. Make sure to read labels and watch for sensitivities when trying a new variation — the easiest dog birthday wins fit your pan, fridge space, and schedule.