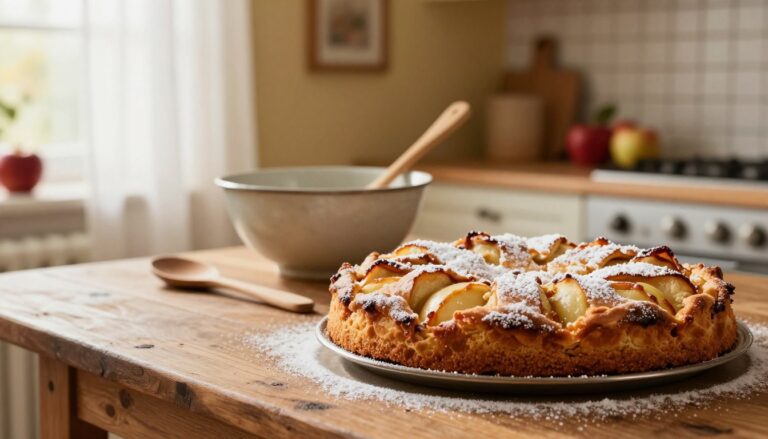
Chocolate Sheet Cake Recipe
I’ll open with what you came for: a truly crowd-pleasing, classic chocolate sheet cake that feels humble — a single pan and simple staples — yet tastes like you went full bakery mode.
This is thin, fast, and very forgiving. Prep takes about 20 minutes, bake about 20 minutes, and you get 24 servings in roughly 40 minutes total. The signature move? Pour the warm frosting over the hot cake so it sets glossy and fudgy.
I promise an easy experience for potlucks and parties: quick cocoa-based batter, a spooned stovetop icing, and effortless slicing. No fancy tools. No drama.
Serve a warm slice with a scoop of vanilla ice cream and watch people go back for another piece. Head to the “At a Glance” section next to find pans, times, and a clear plan before you start.
Why This Classic Sheet Cake Belongs at Every Gathering
Think of this as party baking: wide pan, simple steps, maximum smiles. I’ll explain why this thin, roomy style outperforms taller desserts when you need to feed a crowd fast.
What makes it different from layer cakes
A sheet cake bakes thin and even, so it finishes much faster than a multi-layer. That saves time and keeps ovens free for sides or dinner.
Portability is another win. You slice neat squares, stack them in containers, and no stacking stress or extra frosting between layers.
Why some call it a Texas classic
The “Texas” tag comes from mid-century papers and home‑kitchen lore. The name stuck because families loved the big pan approach for potlucks.
Call it whatever you like—tradition is part of the charm, but the result is the point: easy to make and easy to share.
The secret to that ultra‑moist, tender texture
The trick is blooming cocoa in hot liquid. Pouring boiling water (or coffee) over cocoa intensifies flavor and helps produce a soft crumb.
That warm cocoa mixes into the batter and, combined with quick baking, yields a velvety texture and an unbeatable frosting-to-cake ratio.
- Thinner bake = faster time + more frosting per bite.
- Great for large groups and tidy portions.
- Blooming cocoa deepens flavor and improves moisture.
Next up: I’ll show the exact pan sizes and timings that lock in this texture every time.
Chocolate Sheet Cake Recipe at a Glance

Below is a compact rundown of yield, time, and the best pans to use so you can prep like a pro. This quick snapshot helps you decide if it’s a weeknight rescue or a full party plan.
Yield and timing
Makes about 24 crowd‑friendly squares. Prep time: 20 minutes. Bake time: roughly 20 minutes. Total time from start to finish: about 40 minutes at 350°F when baked in an 18×13-inch pan.
Best pan choices and swaps
- 18×13-inch half‑sheet pan — classic for big batches and even baking.
- 10×15-inch jelly roll (10x15x2 for extra height) — gives slightly thicker slices and makes icing easier to pour and cover.
- A 9×13 pan is usable in a pinch but will yield a taller result and changes bake time and texture; not ideal for the thin, glossy finish this style aims for.
| Pan | Typical Bake Minutes | Notes |
|---|---|---|
| 18×13 half‑sheet | 15–20 | Faster finish; test at 15–17 minutes in some ovens. |
| 10x15x2 jelly roll | 18–22 | Slightly taller; easier to pour frosting and cover for transport. |
| 9×13 | 20–25 | Thicker slice; changes the thin, fudgy ratio intended here. |
If you want to compare the technique or try a tested variation, see a trusted version here: best chocolate sheet guide.
Ingredients You’ll Need for the Cake Batter and Fudgy Frosting
Let’s check the pantry so you have every ingredient ready before you mix. Having measured cups and spoons at hand makes the thin bake go smoothly.
Core batter and frosting ingredients
- All-purpose flour — measure precisely by spooning into a cup and leveling.
- Granulated sugar and powdered sugar for the frosting.
- Cocoa powder — the main driver of deep flavor without melted chocolate.
- Butter (see note below), eggs, and baking soda for lift and texture.
- Buttermilk (or the quick milk + vinegar stand-in) and vanilla extract.
Buttermilk shortcut
If you don’t have buttermilk, pour 1 teaspoon vinegar into a measuring cup, add milk to the 1/2 cup line, stir, and let rest 10 minutes. That curdled stand-in adds the same tang and tenderness.
Salted vs. unsalted butter
Salted butter adds flavor balance to all that sugar and cocoa. If you must use unsalted, add about 1/4 teaspoon salt per stick (1/2 cup) to match the taste.
Optional add-ins and toppings
- Chopped pecans or walnuts for a crunchy finish.
- Omitting nuts keeps the texture pure and fudgy.
- Vanilla extract rounds the flavors—don’t skip it.
| Ingredient | Purpose | Notes |
|---|---|---|
| Flour (cups) | Structure | Measure by spooning to avoid dense batter |
| Cocoa powder | Primary chocolate flavor | Bloom with hot liquid later for depth |
| Butter (salted/unsalted) | Richness and mouthfeel | Add 1/4 tsp salt per stick if unsalted |
| Milk + vinegar | Buttermilk substitute | Makes 1/2 cup of tangy liquid after 10 minutes |
| Eggs, baking soda, vanilla | Lift, crumb, and flavor | Essential for thin, tender texture |
Step-by-Step: How to Make Chocolate Sheet Cake

Start by getting your oven steady and your pan ready—this makes the rest almost effortless. Preheat to 350°F so the temperature is stable when the batter goes in. Choose your sheet pan and, if you’re nervous, give it a quick spray or a light coat of butter.
Prep the pan and preheat the oven for even baking
Set the oven rack to center. A steady oven gives predictable baking times and even rise. I use an 18×13 for fast, thin bakes that finish in about 20 minutes.
Bloom cocoa with boiling water or hot coffee
Melt butter in a small saucepan, stir in cocoa, then add boiling water (or hot coffee). Let the mixture come to a brief boil—about 30 seconds—to bloom the cocoa and deepen flavor.
Mix dry and wet without overworking the flour
Combine dry ingredients in a bowl. Whisk eggs, buttermilk, vanilla, and baking soda in another bowl. Pour the hot cocoa mixture over the dry mix and stir lightly, then fold in the wet ingredients until just combined. Avoid overmixing so the cake stays tender.
Baking cues and timing the warm pour
Bake at 350°F and start checking at 15–18 minutes. A toothpick should come out with a few moist crumbs. Pull the pan when it pulls slightly from the edges. Have your frosting ready—the magic is pouring it while the cake is still warm.
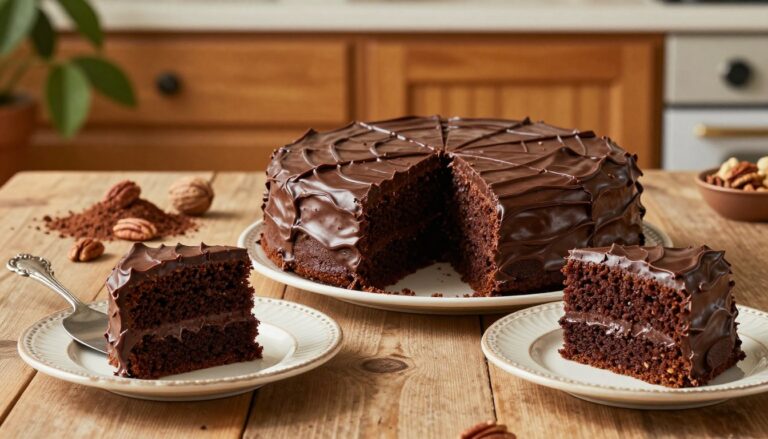
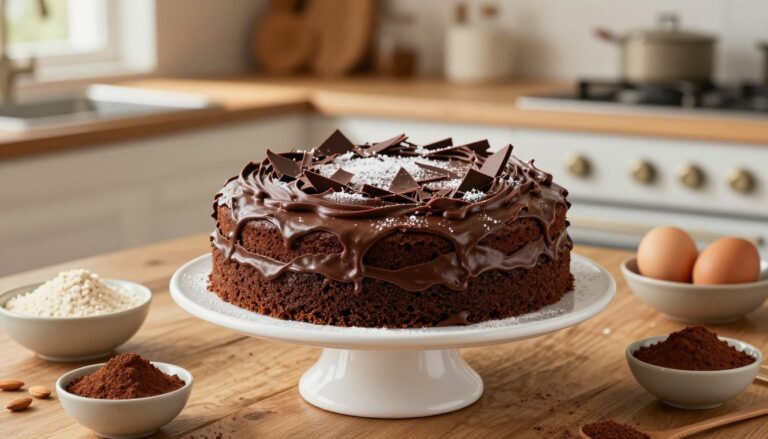
Warm-Poured Chocolate Frosting That Sets Like Fudge
Warm, glossy frosting is the finishing move that turns a simple pan into something everyone notices.
This is not a fluffy buttercream. It’s a pourable, warm topping that cools into a dense, fudgy top. Melt your butter, stir in cocoa, then add milk and vanilla until the mixture shines.
How to prevent lumps and keep it silky
Sift powdered sugar if you can. If not, press it through a sieve or break up clumps with a spoon before adding. Stir the sugar in gradually, a cup at a time.
Use a spoon to mix—don’t whisk. That keeps air bubbles out and helps the surface stay glassy once it sets.
Why pouring over a warm pan is magic
Pour the warm frosting while the cake is still hot. Heat helps it glide to the edges and level itself, creating that signature glossy finish on top.
Sprinkle chopped pecans or walnuts, or a scatter of sprinkles, right after pouring. Let the pan sit for a few hours if you want clean squares—if not, dive in sooner and enjoy the gooey pull.
| Finish | When to add | Effect |
|---|---|---|
| Pecans/walnuts | Immediately after pour | Crunch and contrast |
| Sprinkles | Immediately after pour | Fun color on top |
| Sea salt pinch | After pour | Brightens chocolate flavor |
Serve, Store, and Freeze It Like You Planned Ahead
Plan ahead and this pan becomes party-perfect: simple steps, big payoff.
For serving, cut neat squares for a tray or offer a warm slice with vanilla ice cream for full comfort-dessert mode. Keep slices at room temperature for best texture during the party.
To store, cover the pan tightly or move pieces to an airtight container so the frosting stays pretty. It keeps well at room temperature for about three days; expect a slight loss of fresh-baked spring by day three.
To freeze, wrap the unfrosted pan tightly in plastic then foil. Freeze up to three months, thaw at room temperature, then pour fresh frosting before serving. Freezing a frosted pan is possible but the finish may dull.
Quick plan-ahead checklist: wrap, label with date, and allow full thaw at room temperature before frosting. Bookmark this recipe—you’ll be asked to make it again.