Chocolate Eclair Cake Recipe
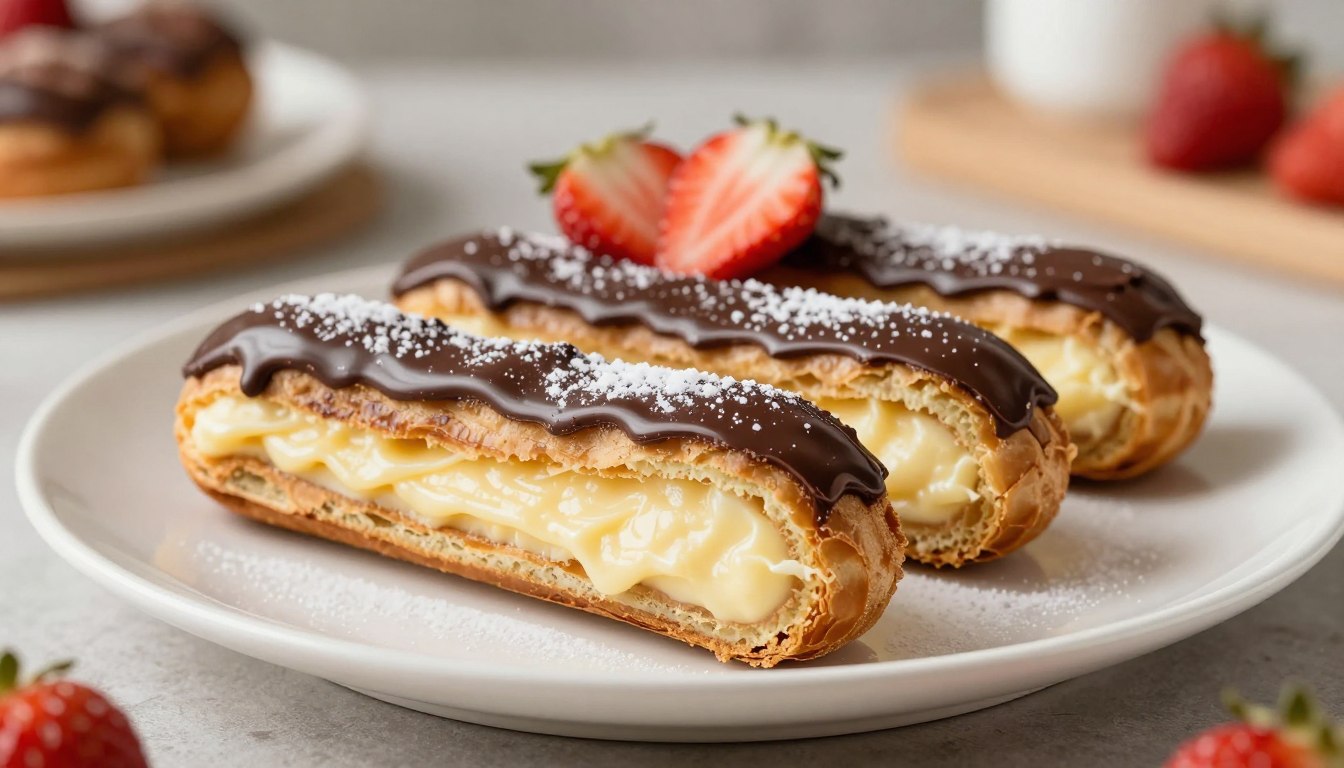
I love a good kitchen shortcut, and this no-bake take is my go-to when I want big flavor with little fuss. It’s an icebox-style, layered dessert that channels that creamy vanilla and rich chocolate pairing—without any piping or pastry work.
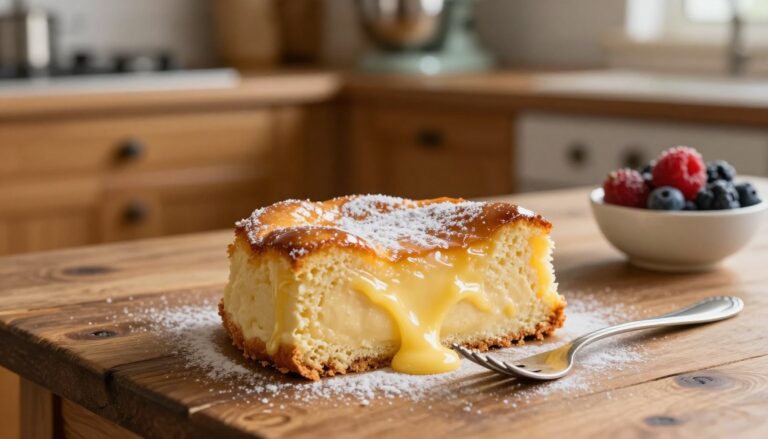
Here’s what to expect: graham-cracker layers soften into a cake-like bite after chilling, instant vanilla pudding stands in for pastry cream, and a glossy chocolate topping gives the classic finish. It’s not a traditional chocolate eclair, but it nails the vibe.
Why I make it often: minimal prep, crowd-pleasing results, and neat squares that travel well. In the steps ahead I’ll cover ingredients, layering tips, frosting choices, chill time, and simple variations so you can riff confidently.
Why This No-Bake Chocolate Eclair Cake Belongs in Your Dessert Rotation
Think of this as a shortcut to that beloved pastry taste, built with pantry staples and zero baking. It captures the vanilla-cream and glossy topping you expect from an eclair, but without pâte à choux or a hot stovetop custard.
Classic flavor without the fuss
We use graham crackers for the “pastry” layers and instant pudding for the creamy fill. The result is the same creamy layers + chocolate finish, but in far fewer steps.
Make-ahead friendly for gatherings
This is a perfect potluck or picnic pick because chilling does the heavy lifting while you do other things. It comes together in minutes, then needs time in the fridge to set.
- Fast and forgiving—great for beginners.
- Portable and sliceable for BBQs, church suppers, or family dinners.
- Tastes even better the next day as flavors meld—more reason to make it ahead.
What You’ll Need for a Chocolate Eclair Cake Recipe
Before you start, collect a handful of simple ingredients so the build goes fast and the flavors shine.
Key ingredients
Graham crackers form the soft, cake-like layers once chilled. Buy full sheets for neat rows and easy stacking.
Instant vanilla pudding and vanilla pudding mix hydrate with whole milk to make a custard-like filling. Use the instant variety so the mixture sets without cooking.
Frozen whipped topping (like Cool Whip) adds stability and lightness—thaw it fully before folding in. I don’t recommend homemade whipped cream here; it can weep.
Topping options
For the finish you can use canned chocolate frosting for speed or a poured chocolate ganache for shine and a bakery feel.
| Option | Texture | Prep | Shopping note |
|---|---|---|---|
| Store-bought chocolate frosting | Thick, spreadable | Room temp, spread gently | Look for 16–18 oz jars |
| Chocolate ganache | Glossy, pourable | Heat cream, pour over chocolate | Use heavy cream and baking chocolate |
| Quick swap ideas | Varied | Swap puddings or toppings | French vanilla or chocolate pudding work |
Ingredient notes
Use puddings labeled “instant,” not cook-and-serve; the latter won’t set properly in this no-bake build. Whole milk gives a richer texture than skim—trust me, it matters in the filling.
Pick a standard box size of pudding mix (3.4–5.1 oz) and a 16 oz Cool Whip tub for a 9×13 pan. Later sections cover swaps like French vanilla or chocolate pudding if you want to riff.
Equipment and Pan Size for Easy Layering

Pick a roomy 13×9-inch (9×13) pan and you’ll set yourself up for neat layers and easy serving. I use a 13×9 because it fits full sheets of crackers with minimal breaks and gives tidy squares when you slice the cake later.
What I recommend
Keep a large mixing bowl on hand for the filling so you can whisk and fold without spills. The basic tools you’ll want: a whisk, a rubber spatula, and an offset spatula or butter knife for the topping.
Use what you have
If your dish is close in size to 13×9, that container will work fine—expect small fitting quirks with the crackers. The pan shape helps crackers soften evenly to the edges, which makes slicing cleaner and the layers uniform.
Relax — layering matters more
Don’t stress precision. Good layering technique beats fancy gear. In the next section I’ll show how to mix the filling quickly and fold in the whipped topping for the creamiest results in this recipe.
How to Make the Pudding Mixture (Creamy Filling in Minutes)
Whisking the filling is the quick win that turns pantry staples into a silky, spreadable center.
In a large bowl, combine the instant pudding mix and whole milk. Whisk briskly for about two minutes until the pudding thickens and looks smooth. You want a texture that is thick but still easy to spread.
Switch tools: use a rubber spatula and fold in thawed whipped topping (Cool Whip) gently. Fold with an under-and-over motion so you keep the air in the mix and preserve the light creaminess.
Small lumps in the pudding aren’t a disaster. A few tiny bits will soften as the dessert chills. If you prefer smoother filling, whisk a little longer or press the mix through a fine mesh while scraping the bowl.
Timing tip: make this pudding mixture right before you layer. It spreads easier and gives you clean, even layers when you build the pan.
| Step | What to look for | Quick fix |
|---|---|---|
| Whisk pudding + milk | Thickened in ~2 minutes; ribbon-like | Whisk longer in 30-sec bursts |
| Fold in whipped topping | Light, airy, spreadable | Use rubber spatula; fold gently |
| Handle lumps | Small lumps ok; will set | Extra whisking or mesh strainer |
If you want a refresher on layering and the full method, see my full method here: step-by-step guide.
How to Layer Graham Crackers for That “Eclair Cake” Bite
Layering is where this dessert earns its magic — a few smart moves and the pan turns into that soft, creamy slice everyone loves.
Bottom: fit and forgive
Start in a 13×9 container. Lay full graham crackers across the bottom and snap pieces to fill large gaps. Tiny gaps are fine; they disappear as the pudding softens the crackers.
Middle: spread with purpose
Spread half pudding mixture evenly over the first cracker layer. Cover edge-to-edge so corners don’t stay dry.
Repeat: add another cracker layer, then spread the remaining half pudding. Keep the filling level so layers don’t slide when sliced.
Top: the final cover and a neat trick
The top layer may need extra sheets depending on your pan size. Press gently so the surface is flat.
Alternate the cracker direction each layer (longways, then crosswise). This simple trick helps the squares hold together and cuts cleaner—like real slices of cake.
Chocolate Frosting Finish: Spreadable vs. Pourable
The finishing layer is the moment that turns this no-bake into something that looks (and tastes) bakery-made. Pick a spreadable or a slightly warmed pour, and you’ll save the top crackers from crumbling and get a clean surface for slicing.
Room-temp spread for smooth coverage
Let canned frosting come to room temperature so it spreads without dragging or breaking the cracker layer. A softened tub moves like butter and fills corners cleanly.
Microwave method for a pourable finish
Heat canned chocolate fudge frosting in 30-second bursts, stirring between each. Stop when it’s pourable but not scorching—then pour to the edges and nudge with an offset spatula for full coverage.
Quick homemade cocoa topping
If you prefer from-scratch, melt 3 tbsp butter with 3 tbsp water, whisk in 3 tbsp unsweetened cocoa, then stir in 1 to 1½ cups powdered sugar until pourable. It’s fast, pantry-friendly, and tastes classic.
- Two paths: spreadable at room temp for control, warmed pour for glossy finish.
- Key tip: soften your topping first so you don’t shatter crackers.
- Let the top settle before covering the pan so plastic wrap won’t stick to your perfect top.
Chill Time, Set Time, and When It’s Ready to Slice
The time you give the pan in the fridge is the step that really “finishes” this dessert. Chill time is not passive — it’s the no-bake baking that firms the pudding and softens the layers into something sliceable.
Minimum set: short wait, workable slices
For a safe serve, refrigerate for at least 3 hours. The pudding will set and the top will hold, but the crackers stay a bit firm.
Best texture: overnight magic
For the best results, chill 8–12 hours (overnight is ideal). After that window the crackers meld into a tender, cake-like layer and the cream becomes silky.
- Party plan: make it the night before and relax the next day.
- Slicing tip: use a cold knife and wipe it between cuts for clean squares.
- Remember: those hours create the structure—don’t rush it.
| Chill (hours) | Pudding | Slice result |
|---|---|---|
| 3 | Set but soft | Works; slightly crumbly |
| 8–12 | Fully set, creamy | Neat, cake-like slices |
| 24+ | Very melded | Very tender; best the same day |
Flavor Variations to Keep This Eclair Cake Fresh
If you like options, this dessert is a playground: swap puddings, tuck in fruit, or pick a new topping. Small swaps keep the method identical, so you get big change with almost no extra work.
Swap the pudding
Try instant vanilla pudding for a classic feel, or use french vanilla for a richer, custardy note. Lemon or pistachio pudding mix also work and brighten the layers.
Add fruit without sogginess
Fold a cup of halved berries gently into the filling so juice doesn’t run. For banana love, lay thin slices between graham crackers just before the final chill.
Change the topping
Swap the usual spread for strawberry, lemon, or vanilla frosting. For a grown-up finish, a glossy chocolate ganache makes the top feel bakery-made.
Go triple rich
For the ultimate indulgence, use chocolate pudding, chocolate graham crackers, and a chocolate topping. If you go this route, serve with coffee or a few berries to balance the sweetness.
| Variation | How to use | Best for |
|---|---|---|
| French vanilla | Use instant french vanilla pudding for deeper vanilla notes | Family gatherings; subtle upgrade |
| Fruit fold-ins | Fold berries into filling or layer banana slices between crackers | Spring or summer potlucks |
| Triple chocolate | Swap in chocolate pudding and chocolate graham crackers; top with ganache | Chocolate lovers and special occasions |
Make-Ahead, Storage, and Freezing Tips

Prep it early and let chilling do the heavy lifting; the payoff is creamier, more cohesive layers. I usually build the pan the night before so the pudding and whipped topping meld into the graham crackers.
How far ahead to make it
Overnight is ideal—about 8–12 hours gives the best texture. After that the layers keep softening and develop a cake-like bite that many people prefer.
Storage in the pan
Keep the pan covered and chilled. It will hold well for 3–4 days without losing flavor. Label the lid if it’s heading to a party so you know who made it.
Why freezing isn’t recommended
Don’t freeze this dessert. Pudding-based fillings separate and turn grainy when thawed. The cream and topping lose their texture, and the result is sad compared to fresh.
- Stick with stabilized whipped topping; homemade whipped cream can fall and make the filling loose.
- For serving, bring from cold to cool, slice with a clean knife, and wipe between cuts for neat squares.
| Action | Best window | Result |
|---|---|---|
| Make-ahead | Overnight (8–12 hours) | Silky pudding, tender layers |
| Short storage | 3–4 days covered | Good flavor; softer texture |
| Freezing | Not recommended | Texture loss and separation |
Serve It Like a Pro and Enjoy Every Creamy Layer
Serve neat squares chilled from the fridge so the layers shine and every bite stays tidy. Use a thin spatula to lift slices and wipe your knife between cuts for clean edges.
Enjoy slices as-is, or upgrade instantly with fresh berries, a scoop of vanilla ice cream, or a drizzle of chocolate sauce. Pair with coffee or an espresso-style drink to make it feel like a dessert course.
These little extras take zero skill but add bakery-level flair. Bookmark this recipe and try a twist next time—you’ll find it becomes a go-to crowd pleaser (and a fun signature to bring to gatherings).