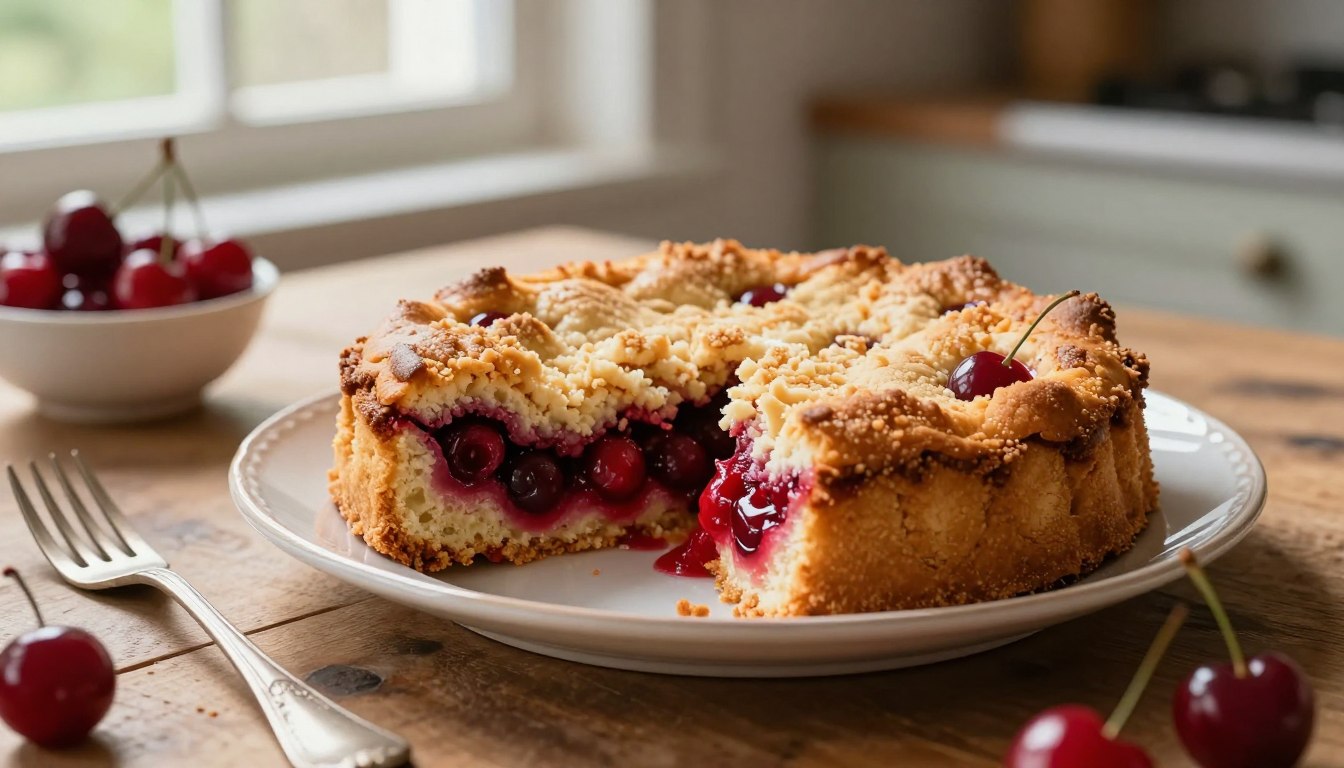
Cherry Dump Cake Recipe
I reach for this wildly simple dessert when I want warm comfort fast. It’s a pantry-friendly, “dump and bake” style treat that uses boxed mix, canned fruit filling, and butter. No fancy dough, no beating — just layer, sprinkle, and let the oven do the work.
Expect juicy fruit under a golden, slightly crunchy topping and the bubbly edges that mean it’s ready. Prep takes minutes and baking finishes in about an hour in a 9×13 dish, so it fits weeknights, weekend hangs, or last-minute guests.
I’ll show two easy paths: the classic oven method and a slow-cooker option if you want hands-off warmth. Serve it warm with a big scoop of vanilla ice cream or whipped cream for instant hero status.
Why This Cherry Dump Cake Is a Go-To Dessert
If you want big flavor with almost no fuss, this pantry-friendly treat never lets me down. It’s more cobbler than layer cake: a bubbly fruit base hydrates dry mix, turning it into a tender, golden topping while the filling simmers below.
What a quick layered dessert really is
Think of it as literal dumping—no mixer, no folding, no stress. You layer fruit filling, sprinkle the dry mix, then dot with butter. The oven does the rest.
Flavor you can count on
Sweet-tart cherries give bright color and a familiar cherry pie comfort without any rolling. The top browns into buttery crisp spots with soft cake beneath — that contrast is the payoff.
Best times to make it
It travels well to potlucks, looks festive for holidays, and satisfies last-minute cravings when you want dessert now, not later. Swap fruits or mixes later, but this version is a dependable baseline.
| Occasion | Why it Works | Serving Idea |
|---|---|---|
| Potluck | Holds shape, easy to reheat | Scoop with ice cream |
| Holiday | Bright red fruit looks festive | Top with whipped cream |
| Weeknight | Fast prep, pantry staples | Warm with coffee |
| Make-ahead | Stores well, reheats nicely | Finish with toasted nuts |
Want the exact steps? Try my tested version for a simple, reliable result: classic cherry dump.
Ingredients You Need for the Best Results

Gathering the right ingredients makes this dessert sing before the oven even turns on. With only a few pantry staples, small choices change the final bite.
What to buy and why it matters
Use about 42 ounces total of cherry pie filling (usually two 21-ounce cans). I look for cans with extra cherries and a glossy syrup—more fruit means a juicier filling and fewer watery edges.
Choose a yellow cake mix for a buttery base. French vanilla adds aroma, and white cake mix keeps things light. Any cake mix will hydrate into a tender top when paired with the filling.
Butter is make-or-break: 1/2 cup (1 stick) works best. Melted butter is fast and easy; sliced pats cover more evenly and cut down on dry pockets. If you use melted butter, drizzle slowly for even coverage.
The small touch that helps
A teaspoon of almond extract brightens the fruit and makes the whole thing taste intentional. The mix plus pie filling is sweet, so the extract balances sugar and boosts depth.
| Ingredient | Why it matters | Quick tip |
|---|---|---|
| Cherry pie filling | Fruit, texture, and syrup | Two 21-oz cans = ~42 oz |
| Yellow / French vanilla / white cake mix | Top texture and flavor | Yellow for richness; swap if you want aroma |
| Butter (1/2 cup) | Controls browning and moisture | Melt or slice into pats for even bake |
| Almond extract (1 tsp) | Boosts fruit flavor | Add sparingly to avoid almond dominance |
Cherry Dump Cake Recipe (Oven-Baked, Classic Method)
This classic oven method gives you a crisp, buttery top and warm, saucy fruit beneath in about an hour. It’s the fastest path to a homey dessert that still feels special.
Prep basics
Preheat oven 350°F and spray or grease a 9×13 baking dish so nothing sticks. If you like, stir 1/2 tsp almond extract into each can of pie filling for extra depth.
Build the layers
Spoon two cans of pie filling into the baking dish. Sprinkle the dry cake mix evenly over the fruit so no bare fruit peeks through.
Top with 1/2 cup butter — either drizzle melted butter slowly or place sliced pats across the surface for even hydration.
Bake time and doneness cues
Bake 50–60 minutes. Look for bubbly edges and a golden-brown top (not pale and powdery). If the top seems dry, a few more minutes or better butter coverage usually fixes it.
Serving right away
Serve warm in bowls with vanilla ice cream or a dollop of whipped cream. The hot-and-cold contrast is what wins smiles.
| Step | What to do | Timing |
|---|---|---|
| Prep | Preheat to 350°F; grease 9×13 baking dish | 5 minutes |
| Layer | Pie filling, cake mix, then butter (melted or pats) | 5 minutes |
| Bake | Golden top and bubbling edges | 50–60 minutes |
How to Make Cherry Dump Cake in a Slow Cooker
Skip the oven heat: the slow cooker turns pantry staples into a cozy, spoonable dessert that stays warm for serving. I use this method when I want minimal fuss or when the kitchen is already hot.
Cook times and cues
Add about 42 ounces of cherry pie filling to a 3–5 quart slow cooker. Cover and cook LOW for 4 hours or HIGH for 2 hours. Slow-cookers vary, so watch for set fruit and a cooked topping rather than timing alone.
Mixing the topping
Instead of sprinkling dry cake mix straight on, stir the cake mix with melted butter until crumbly. Spread that mix-melted topping over the filling so it bakes into a cobbler-like finish rather than a powdered top.
Preventing soggy condensation
To keep the topping from getting wet, tuck a clean kitchen towel (or a couple of paper towels) under the lid. The cloth catches drips and keeps the surface pleasantly textured.
| Setting | Time | Doneness cue |
|---|---|---|
| Low | 4 hours | Fruit set, topping firm |
| High | 2 hours | Bubbling edges, cooked topping |
| Finish | Hold warm | Spoonable, not sliceable |
Scoop into bowls and top with ice cream if you like. If you want another slow-cooker approach, try this trusted slow-cooker method for extra tips.
Easy Variations and Smart Substitutions
This one-pan favorite begs for improvisation—let’s talk simple swaps that actually work. Small changes to the fruit layer or the dry mix can shift the whole personality of the dessert without extra fuss.
Swap the fruit
Use peach, blueberry, strawberry, or apple pie filling in the same volume (about 42 oz total). Keep the amount steady so the topping bakes properly and you avoid a soggy filling.
Change the mix
Try chocolate cake mix for a Black Forest-style twist, or lemon or white cake for a brighter, lighter finish. A different mix changes texture and flavor fast.
Twists and add-ins
Stir crushed pineapple into the filling for tang and tropical lift. For crunch, sprinkle sliced almonds or chopped pecans under or over the mixture before baking.
| Swap | Effect | Try |
|---|---|---|
| Fruit flavor | Alters sweetness and jammy texture | Peach, blueberry, apple |
| Cake mix | Changes aroma and crumb | Chocolate, lemon, white cake |
| Dietary swap | Lowers sugar or gluten | Gluten-free mix, sugar-free pie filling |
Pro Tips for Better Texture and Flavor

Small technique changes make a pantry shortcut taste like it came from a bakery. These tips focus on two levers: heat and butter distribution. Get those right and the rest is easy.
How to spread butter evenly for a crisp, not-powdery top
Dry spots usually come from uneven butter coverage. I like sliced pats because they cover more surface area than a quick drizzle.
Place pats in a grid, paying special attention to corners. If you do drizzle, go slowly and watch for bare patches.
Getting clean scoops: resting time before serving
Let the pan rest 8–10 minutes after baking. The fruit settles and the filling firms up so you get neat scoops instead of a lava flow.
If you want warm servings, a shorter rest keeps heat but still tames the runniness. Serve with vanilla ice and a spoonful of whipped cream for balance.
- Use a splash of almond extract in the filling to boost flavor.
- A good cake mix and steady oven heat make the top brown evenly.
- Remember: heat plus butter distribution are the two most important factors for final texture.
| Technique | Result | Timing / Note |
|---|---|---|
| Sliced butter pats | Even hydration, fewer dry spots on top | Place before baking; works well at 50–60 minutes |
| Drizzled butter | Fast, but can leave powdery patches | Drizzle slowly and cover corners |
| Short rest | Cleaner scoops, still warm | 8–10 minutes after oven |
| Longer rest | Set filling, easier slicing | 15–20 minutes if you need slices |
Make It Ahead, Store It, and Serve It Like You Mean It
Prep a few smart steps ahead and this crowd-pleasing dessert practically makes itself. Open the cans, grease the 9×13, and have toppings ready; save butter placement and baking for right before guests arrive so the topping stays crisp.
Leftovers keep well. Refrigerate covered; the topping softens overnight and becomes more cobbler-like — some folks prefer it that way. Reheat single portions or serve chilled for a firmer, pie-meets-cake bite.
Transport in the pan for potlucks; a 9×13 fits most tables and holds heat. Serve it like you mean it: scoop generous portions, top with ice cream, and be unapologetically nostalgic. This simple recipe lives in my back pocket because pantry cans and boxed mix deliver maximum comfort with minimum fuss.