Pudding Cake Recipe
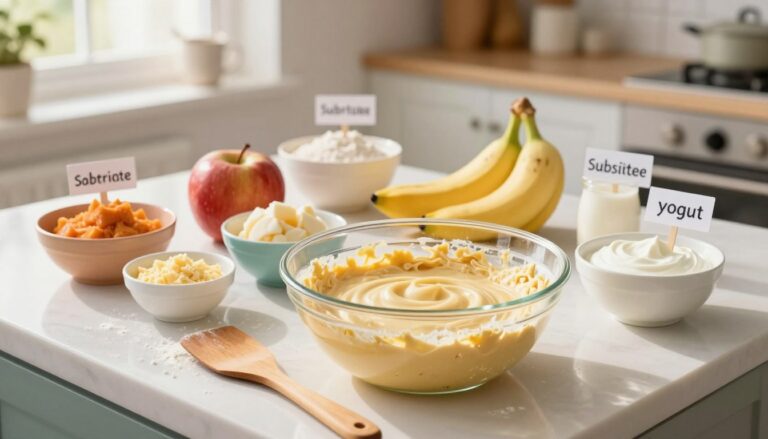
I love a dessert that feels like a small kitchen miracle. This one bakes into two layers: a tender chocolate layer on top and a spoonable, fudgy pudding underneath. It’s all made from a single bowl and a quick brown sugar and cocoa topping.
Here’s the neat trick: you sprinkle the dry topping, pour hot water over it (don’t stir), and let the oven do the rest. The result is warm, gooey bottom pudding and a soft top layer you can serve straight from the pan.
I’ll help you spot success—texture cues and timing—and show two paths: a from-scratch self-saucing version or a pudding-topped sheet approach if you want shortcuts. For full details and the tested method, see this chocolate version at the full guide.
Stick around: ingredients, step-by-step instructions, pro tips, easy shortcuts, and serving ideas are next. You’ll be confident making this comfort-food classic in no time.
What Makes Pudding Cake So Irresistible
There’s a small kitchen magic trick that turns batter into a two-texture wonder. I’ll walk you through why the bottom turns spoonable while the top crisps into a tender layer.
How a cake layer bakes over a creamy pudding layer
You pour cake batter into the pan, sprinkle brown sugar and cocoa, then pour hot water on top without stirring. As the batter rises, the hot cocoa-sugar drizzle sinks and forms a fudgy pudding beneath the risen top.
Self-saucing vs. pudding-topped sheet styles
- Self-saucing: bakes into its own sauce—warm, gooey, and ready straight from the oven.
- Sheet style: bake a layer, cool it, spread prepared pudding and whipped topping—chilled and party-friendly.
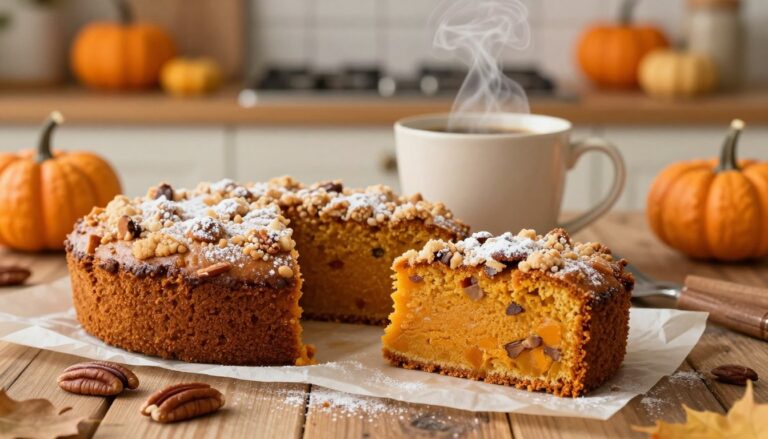
Flavor favorites for American dessert tables
Classic chocolate and vanilla top the list, with banana, spice, and mashups following close behind. Don’t chase dry perfection here; this dessert aims to be luscious and spoonable.
I’ll cover exact ingredients, pans, and timing next so your layers behave every time.
Pudding Cake Recipe
This one-bowl method keeps things simple while delivering rich, layered chocolate comfort. Below are the exact ingredients, a few smart add-ins, and the minimal equipment you need to succeed.
Ingredients for the chocolate cake batter
From-scratch dry and wet ingredients go straight into one bowl for a fuss-free batter.
- 1 cup all-purpose flour (spooned & leveled)
- 1/4 cup unsweetened Dutch-process cocoa powder
- 2/3 cup granulated sugar
- 2 teaspoon baking powder
- 1/4 teaspoon salt
- 2/3 cup whole milk (room temp) and 1/4 cup melted unsalted butter
- 1 teaspoon vanilla
Ingredients for the chocolate pudding topping
What becomes the saucy, spoonable layer is just brown sugar, cocoa, and hot water.
- 1 cup packed light brown sugar
- 1/4 cup cocoa powder
- 1 1/4 cups hot/boiling water (pour over, don’t stir)
Optional add-ins for extra flavor
- 1/2 teaspoon instant coffee granules — deepens chocolate notes
- 1/2 cup chopped nuts or chocolate chips — texture and bite
- 1/2 teaspoon cinnamon or a pinch of salt — brightens flavor
Equipment and baking pan options
Keep it low-stress: one large bowl, a whisk, and a baking pan are all you need.
- 9-inch square pan (standard) — best balance of bake time and depth.
- 8-inch square pan — slightly deeper; add a few extra minutes to bake.
- Double the batch into a 9×13 pan for a crowd (watch bake time).
| Pan | Best Use | Note |
|---|---|---|
| 9-inch square | Everyday batch | 350°F, center rack |
| 8-inch square | Deeper result | Longer bake time |
| 9×13 (doubled) | Parties | Shallower, shorter bake per depth |
Note: This from-scratch version is eggless, uses common pantry items, and bakes at 350°F for the self-saucing approach. Position the pan near the center of the oven for even heat and reliable layers.
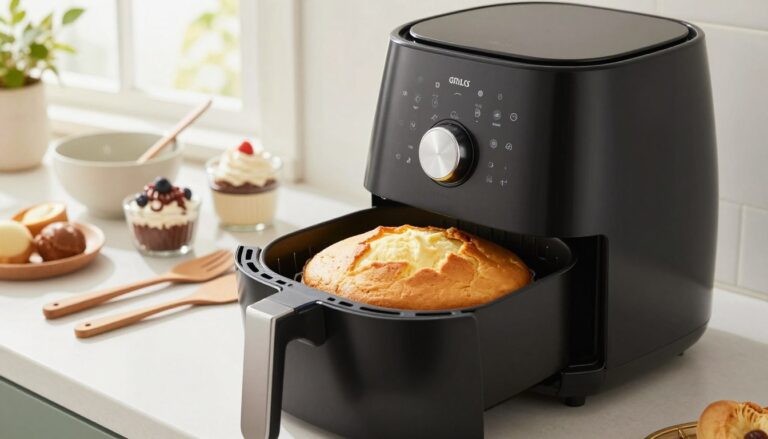
How to Make Chocolate Pudding Cake in One Pan
Start by getting your oven and pan ready so the whole process feels effortless.
Preheat oven and prep the baking pan
Preheat the oven to 350°F (177°C). Spray a 9-inch square pan well so the finished dessert slips out cleanly.
Mix the cocoa cake batter in one bowl
Sift the flour and cocoa powder into a bowl. Whisk in sugar, baking powder, optional coffee, and salt.
Add milk, melted butter, and vanilla. Whisk until the batter is just combined—don’t overmix. Pour batter into the prepared pan.
Top with brown sugar and cocoa powder
Combine the brown sugar and cocoa powder in a small bowl. Sprinkle that mixture evenly over the batter so the sauce forms uniformly underneath.
Pour hot water on top without stirring
Carefully pour 1 1/4 cups hot/boiling water over the top. Cover the surface but do not stir; let heat and gravity do the work.
Bake until puffed and no longer wet on top
Bake for 25–30 minutes. Look for a puffed top that feels set and not shiny or wet. Ovens vary, so watch the visual cues as much as the minutes.
Rest time before serving for the best texture
Let the pan rest 5–10 minutes before serving. The wait lets the sauce thicken so the layers hold when you spoon and serve.
Pro Tips for Perfect Pudding-Under-Cake Texture

Nailing the texture between a soft top and a spoonable bottom comes down to a few simple habits. I’ll walk you through mixing, sifting, and timing so the dessert behaves every time.
Getting the batter consistency right without overmixing
Aim for a smooth, thick-but-pourable batter. Mix until just combined; a few streaks are okay. That gentle approach keeps the top tender while the bottom sets into sauce.
Why sifting cocoa and sugar helps prevent lumps
Sift flour and cocoa powder before you whisk. I also sift the brown sugar/cocoa topping if it’s clumpy. That stops bitter pockets and gives even sinking of the topping mixture.
How to tell it’s done: don’t chase a “dry” center
Trust the visual cues: a set, no-longer-wet top means it’s ready. Remove at the early end of the baking time range. The pudding underneath needs a short rest—about 5 to 10 minutes—to thicken.
| Issue | Likely Cause | Fix |
|---|---|---|
| Watery sauce | Underbaked | Return to oven for a few more minutes and check |
| Dry top | Overbaked | Reduce baking time next attempt |
| Uneven layer | Uneven topping distribution | Sift topping and spread evenly before pouring water |
If you want a tested version for a classic finish, try this chocolate pudding cake at chocolate pudding cake. Little tweaks in mixing and time make a big difference—seriously satisfying results every time.
Easy Variations Using Instant Pudding or Cake Mix
If you want ultra-moist results with minimal fuss, adding instant pudding to a boxed mix is a small genius move. I use this trick when weeknights demand speed without sacrificing taste.
Try the Typical Mom shortcut: one box cake mix with pudding, 1 box (3.4 oz) instant pudding, 1.5 cups milk, 2 eggs, and 1/4 cup vegetable oil. Stir in a bowl, pour into a greased 13×9 pan, and bake at 350°F about 34 minutes—don’t overbake.
Flavor pairings are forgiving: vanilla pudding pairs with spice or banana; chocolate-on-chocolate is indulgent; vanilla with yellow cake makes a bright, classic combo. Adding instant mix improves moisture and gives a softer crumb.
Pan choice changes the outcome. A Bundt pan can dry faster—watch the internal temp and pull earlier. A 13×9 pan yields a moister slice and is forgiving for parties. For a sheet-pan version, bake a thin base at 325°F for 18–20 minutes, cool, spread pudding layers made with milk, top with whipped cream, and finish with shaved milk chocolate. Chill before serving.
| Pan Type | Temp / Minutes | Texture | Tip |
|---|---|---|---|
| 13×9 pan | 350°F / ~34 minutes | Ultra-moist, even | Cool slightly before slicing |
| Bundt pan | 350°F / check earlier | Denser, can dry | Reduce bake time; test with skewer |
| Sheet pan | 325°F / 18–20 minutes | Thin base for layered finish | Cool fully, then spread pudding and cream |
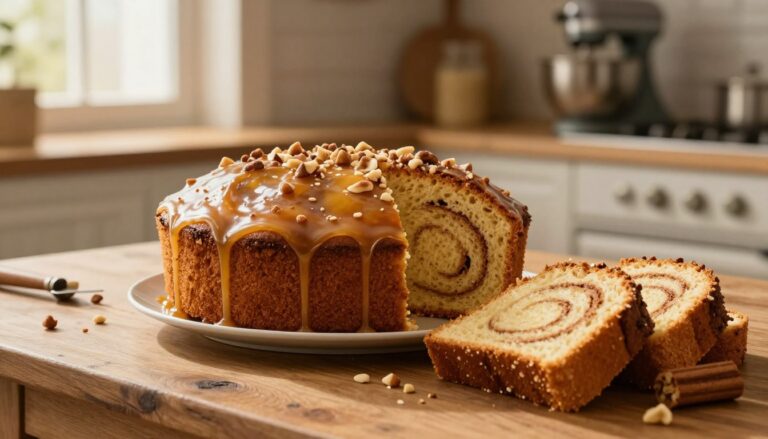
Serving Ideas: From Weeknight Treat to Crowd-Pleasing Dessert

For an easy win, scoop straight from the pan and let melting ice cream do the rest. The self-saucing style shines warm, with steam and soft sauce pooling around each spoonful.
Best served warm with ice cream
I serve the warm version in bowls. Add a generous scoop of ice cream and watch it melt into the chocolate pudding beneath the top. That contrast of hot and cold is pure comfort.
Whipped cream, Cool Whip, and chocolate shavings for a bakery-style finish
For sheet-pan versions that chill, spread Cool Whip or whipped cream across the top. Finish with a snowfall of shaved Hershey’s milk chocolate for a polished look.
- Spooned “lava-style” servings for cozy nights; neat squares for parties.
- Warm = loose, spoonable pudding; chilled = firmer, sliceable layers.
- Add-ons: extra chocolate chips, a drizzle of caramel, or a pinch of flaky salt.
| Style | Serve Temp | Finish |
|---|---|---|
| Self-saucing | Warm | Ice cream scoop on top; quick spooned portions |
| Sheet-pan | Chilled | Cool Whip or whipped cream; chocolate shavings |
| Party portions | Warm or chilled | Smaller cups for easy serving; garnish with extra cream |
Storing, Reheating, and Making It Ahead Without Losing the Magic
Fresh is best, but leftovers can still shine with smart storage and a quick reheat.
For the self-saucing version, cover the pan and refrigerate for 2–3 days. Reheat single servings in the microwave 15–30 seconds; the pudding layer will thicken as it cools, so short warms keep the gooey feel.
Sheet-pan, pudding-topped trays should stay tightly wrapped and chilled. They’re best the day-of and hold up about 2–3 days before the texture shifts toward fudgy and dense.
Doubling into a 9×13 works—expect slightly more baking time and pull when the top is no longer wet. Freezing isn’t recommended; thawing ruins the silky layer. Transport chilled for parties, or rewarm portions just before serving.