Peach Dump Cake Recipe
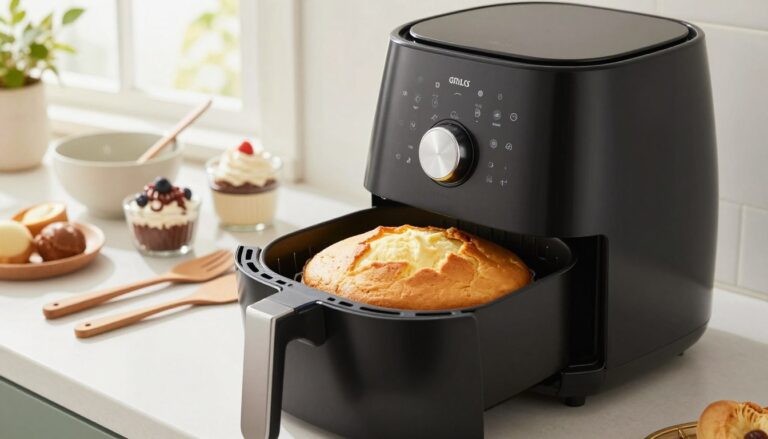
I’m obsessed with this one-pan savior because it’s the “I forgot I needed dessert” fix that tastes like I planned ahead. It comes together in minutes and bakes into a spoonable, cozy treat with a crisp, buttery top and a juicy, fruit-filled bottom.
A dump cake is simple: fruit (canned or jarred) plus dry cake mix and butter, baked—no bowls, no whisking. The method works because the mix melts into a golden crust while the fruit steams beneath, so you get cobbler vibes without fuss.
This is for beginner bakers, busy parents, potluck heroes, or anyone with a box of mix in the pantry. I’ll show two butter options (melted drizzle or cold pats) so you never get a powdery top.
Use peaches in syrup, peaches in juice, or peach pie filling. Serve warm with vanilla ice cream or whipped cream for instant comfort-food magic.
Why This Peach Dump Cake Is a Go-To Dessert
Think crunchy, buttery topping and a saucy fruit base—that’s the kind of homey dessert I reach for on busy nights.
Dump cake vs. peach cobbler vibes: crunchy top, peachy bottom
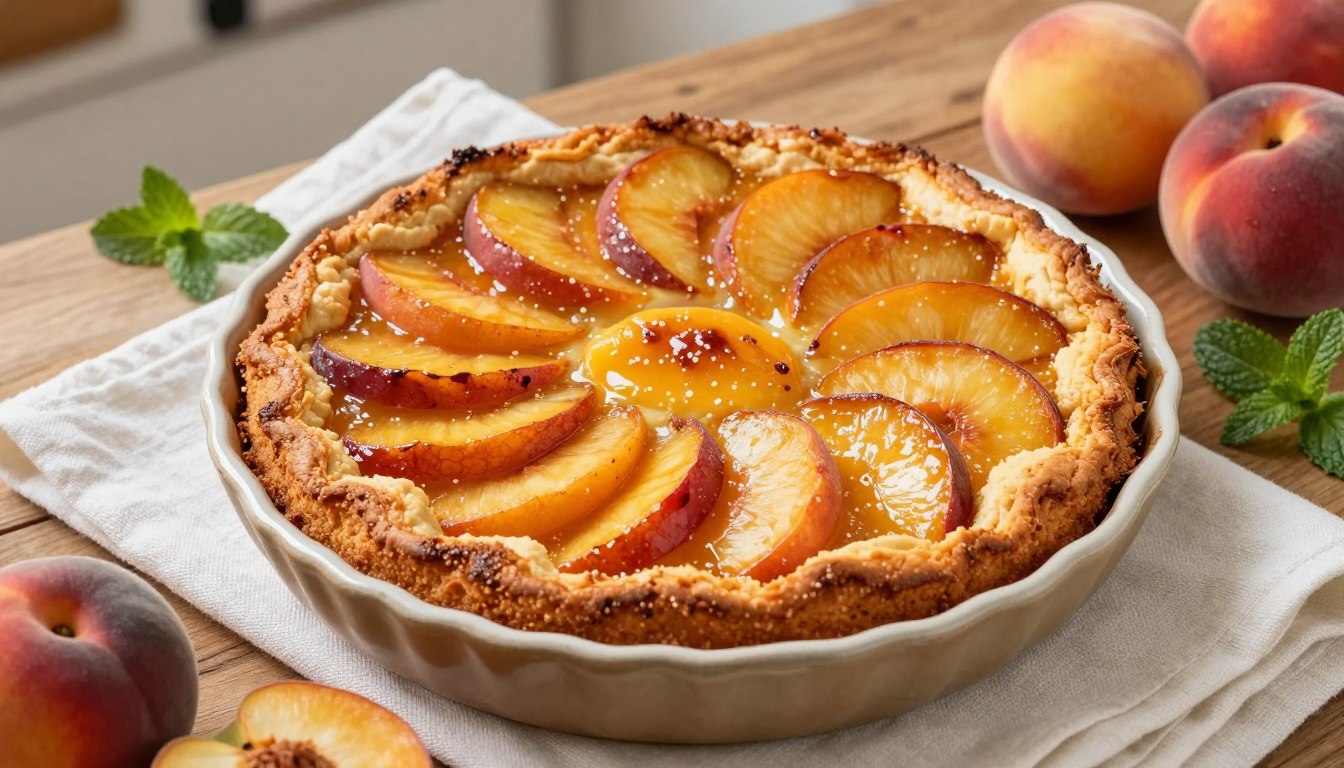
You get a golden, crisp top and a spoonable fruit layer underneath. It tastes like cobbler, but with less fuss. The texture contrast is what people rave about.
Minimal hands-on time and no mixing bowls
Prep is literally: dump, spread, butter, bake. No bowls, no whisking, fewer dishes to wash. That save of time matters on weeknights and busy weekends.
Perfect for potlucks, cookouts, and easy family dinners
It travels well, feeds a crowd, and looks impressive without perfection. This is a rustic, scoop-friendly dessert—made for warm gatherings and quick contributions to a spread.
- Beginner-friendly: forgiving oven work means low stress.
- Summer feel year-round when using canned fruit.
- Pairs well with ice cream or whipped cream for extra wow.
| Feature | What to Expect | When to Make It |
|---|---|---|
| Texture | Crisp, buttery top; saucy fruit base | When you want contrast without fuss |
| Prep Time | 5–10 minutes hands-on | Weeknights, last-minute potlucks |
| Skill Level | Beginner-friendly | New bakers or busy hosts |
Want an even quicker spin? Try the easy 3-ingredient version for a true throw-together winner.
Ingredients You’ll Need for Peach Dump Cake Recipe

Start with three pantry essentials and a few upgrade options for better flavor and texture. Below I break down choices so you can mix and match with confidence.
Canned fruit vs. pie filling
Use a 29‑oz can of canned peaches in heavy syrup or a can of peach pie filling. Pie filling gives a gooier, cobbler-like interior.
Canned peaches in juice are lighter and more fruit-forward. If you use juice, add a sprinkle of brown sugar or a dash of vanilla to boost sweetness.
Syrup, juice, and sweetness
Heavy syrup thickens juices and ups the sugar, so you get a saucier bottom. Light juice keeps it brighter and less sweet.
Cake mix and butter choices
Yellow cake mix is classic for that golden, buttery top. White, vanilla, or butter mixes work too—use what’s in your pantry.
Butter: ¾ cup (1½ sticks) is standard. Salted can tame sweetness; unsalted is fine if you add brown sugar or nuts. Use melted butter or thin pats to avoid dry spots.
- Core 3-ingredient list: canned peaches or pie filling + box cake mix + butter.
- Upgrades: cinnamon, nutmeg, vanilla, brown sugar, chopped walnuts or pecans.
| Item | Why | Tip |
|---|---|---|
| Peaches in heavy syrup | Gooey, sweet base | Best for cobbler feel |
| Canned peaches in juice | Brighter, lighter flavor | Add vanilla or brown sugar if desired |
| Yellow cake mix | Golden, buttery top | Box sizes vary; recipe is forgiving |
For a tested reference and variations, see this trusted version on The Pioneer Woman.
How to Make Peach Dump Cake in a 9×13 Baking Dish
I’ll show you the exact build order for a 9×13 pan so your top crisps and the fruit stays saucy. This short method keeps steps clear and the result reliably golden.
Preheat and prep
Preheat oven to 350°F. Spray a 9×13 baking dish with cooking spray so servings slide out and cleanup is faster. This small step makes a big difference when you scoop warm portions.
Layer the fruit
Dump the peaches and all their syrup or juice into the dish. Use a spatula to spread the fruit in an even layer so juices distribute and the mix cooks through.
Add the dry mix and fix powdery spots
Sprinkle the dry cake mix evenly over the fruit like a cozy blanket—no clumps, no bare corners. Then, gently press a few spots of the syrup into the mix to stop a dusty top (do not stir into a batter).
Top with butter two ways
Option A: drizzle melted butter evenly across the surface for speed. Option B: arrange thin cold pats of butter so they cover more area; this gives a more consistent golden top.
Bake and cool
Bake at 350°F for about 45–55 minutes. Look for bubbling edges and a deep golden top as your doneness cues. Let the pan rest 10–15 minutes so the filling firms for cleaner scoops while still warm.
| Step | Action | Why it matters |
|---|---|---|
| Preheat & prep | 350°F; spray 9×13 dish | Even baking; easy serving |
| Fruit layer | Spread peaches + syrup | Distributes moisture for cooking |
| Top mix | Sprinkle cake mix; press juices | Prevents powdery top, hydrates mix |
| Butter | Melted drizzle or thin pats | Creates golden, buttery top |
| Bake time | 45–55 minutes; cool 10–15 | Bubbling edges; set filling for scooping |
Flavor Variations and Easy Upgrades

Want to dress this up? Small tweaks deliver big flavor with almost no extra prep. Use these quick swaps to make the same pan feel new each time.
Spice it up
Add 1/4–1/2 teaspoon of cinnamon or apple pie spice for warmth. A pinch of nutmeg also lifts the fruit without stealing the show.
Go nuts for crunch
Sprinkle 2 tablespoons brown sugar and 1/2 cup chopped pecans or walnuts over the cake mix before you add butter. The nuts caramelize and make a crisp, toasty top.
Fruit twists
Stir in a can of crushed pineapple with the peaches for bright tang. Or swap in fruit cocktail for a different, spoonable texture—both add liquid that hydrates the mix well.
Swap the mix
Use a spice cake mix to give the dessert a cozy, fall-forward profile. White or vanilla mixes keep things mellow if you want a simpler sweet.
Fresh or frozen peaches (summer method)
Use about 5–6 fresh peaches (6 cups sliced) or an equal amount frozen. Toss with roughly 1/4 cup sugar to mimic syrup, spread evenly, and expect a slightly longer bake. Watch for bubbling edges rather than the clock.
- Choose-your-own-adventure: pick one or two upgrades so the base stays simple.
- Quick prep tip: when using fresh fruit, slice evenly and distribute juices before the cake mix goes on.
- If you like extra butter flavor, dot thin pats over the top so it browns evenly.
| Upgrade | What to Add | Result |
|---|---|---|
| Spice | Cinnamon or apple pie spice (1/4–1/2 tsp) | Warm, cozy flavor |
| Nuts | Brown sugar + pecans/walnuts | Caramelized crunch |
| Fruit | Crushed pineapple or fruit cocktail | Juicy, tangy twist |
| Mix swap | Spice cake mix | Seasonal, richer profile |
Serving Ideas for the Best Peach Dump Cake
Nothing beats a warm scoop pulled straight from the pan, where molten fruit meets a buttery crust and the house smells like comfort.
Warm with vanilla ice cream or whipped cream
Serve a hot portion with a generous scoop of vanilla ice cream so it melts into the filling. The contrast of hot and cold is the payoff everyone talks about.
If you prefer lighter, add a dollop of whipped cream. The soft cream brightens the fruit and keeps the portion feeling fresh and easy to eat.
How to get cleaner scoops for parties and potlucks
Let the pan rest 10–15 minutes so the filling thickens. Use a metal spatula or a large serving spoon and start at a corner for tidy pieces.
- Bring the dessert in its baking dish; it’s fine to serve family-style.
- Pack a big spoon and napkins—rustic desserts vanish fast, so don’t worry about perfection.
- Finish with a pinch of cinnamon, chopped nuts, or flaky salt for grown-up contrast.
| Serving Temp | Why | Quick Tip |
|---|---|---|
| Warm | Max cozy, melts ice cream | Serve within 15 minutes of baking |
| Room temp | Still gooey with a firmer top | Cool 20–30 minutes for easier slices |
| Leftover chilled | Spoonable, tastes sweeter | Reheat briefly for crisp edges |
Make It Ahead, Store Leftovers, and Reheat Without Losing the Crunch
Assemble the whole pan ahead, chill it covered, and bake when you want that fresh, golden top. I often build the layers in the morning and refrigerate up to about 12 hours; then I pop the dish straight into a hot oven as directed.
Cool the baked pan fully before sealing leftovers to avoid trapped condensation that soggifies the crust. Store in the fridge within two hours in an airtight container; it keeps well for about 3–5 days.
For longer life, freeze individual slices wrapped tightly; they hold up to three months. Reheat in a 350°F oven to re-crisp the topping, or use the microwave for a quick single serving (the crust will soften).
Treat this like a pie when it comes to food safety—don’t let it sit at room temperature all day. Little planning means you get warm scoops and happier guests every time.